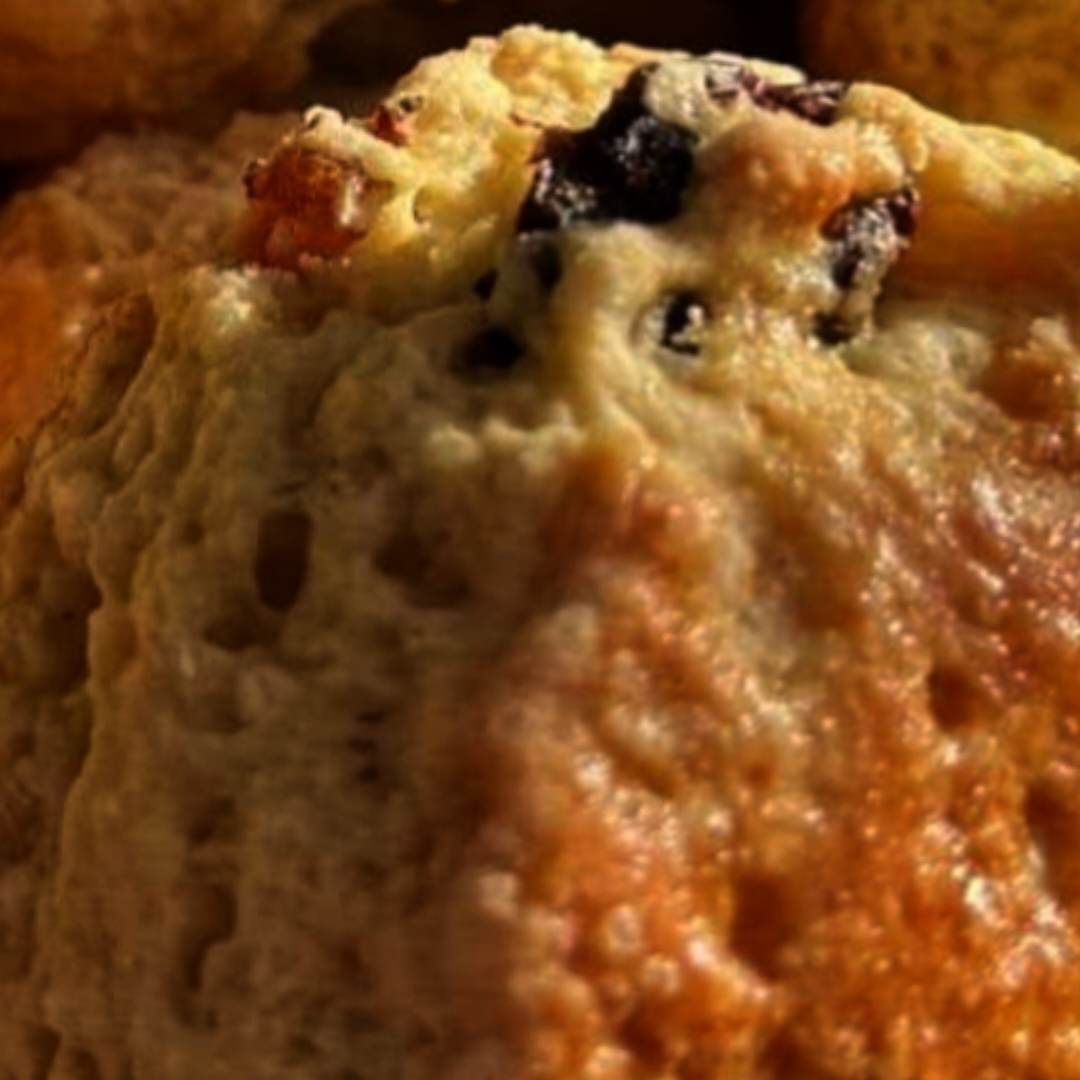
Scones are a timeless treat, loved for their soft, fluffy texture and slightly crisp edges. Whether enjoyed with a smear of clotted cream and jam, or simply with butter, scones make a perfect addition to breakfast, brunch, or afternoon tea. Here’s a detailed, step-by-step guide to baking the perfect scones that rise tall and turn out beautifully golden.
Why You’ll Love This Scone Recipe
This recipe captures the essence of classic British scones, which are known for their light, crumbly texture and subtle sweetness. Following these steps will ensure your scones are tender on the inside with a delightful crunch on the outside.
Ingredients:
Dry Ingredients
- All-purpose flour: 2 cups
- Granulated sugar: ¼ cup
- Baking powder: 1 tbsp (for that extra rise)
- Salt: ½ tsp
Wet Ingredients
- Cold unsalted butter: ½ cup (1 stick), cut into small cubes
- Heavy cream: ¾ cup (or whole milk, for a lighter texture)
- Vanilla extract: 1 tsp (optional, for a hint of flavor)
- Egg: 1 large, for brushing (to give a golden, glossy finish)
Optional Mix-Ins
- Dried fruit: ½ cup (like raisins, currants, or cranberries)
- Chocolate chips: ¼ cup, for a sweeter treat
Step-by-Step Recipe for Perfect Scones
Let’s go through each stage to make these scones light, fluffy, and delicious.
1. Preheat the Oven
- Preheat your oven to 400°F (200°C) and line a baking sheet with parchment paper.
2. Prepare the Dry Ingredients
- In a large mixing bowl, whisk together the flour, sugar, baking powder, and salt.
- If you’re adding dried fruit, toss it in the flour mixture to coat. This helps keep the fruit evenly distributed.
3. Cut in the Cold Butter
- Add the cold, cubed butter to the flour mixture.
- Using a pastry cutter or your fingertips, work the butter into the flour until the mixture resembles coarse crumbs with pea-sized bits of butter scattered throughout.
- The bits of cold butter create steam pockets in the scones, making them flaky and tender.
Pro Tip: If your kitchen is warm, chill the flour mixture with the butter in the fridge for 10 minutes to keep it cold, as cold ingredients are key to flaky scones.
4. Add the Wet Ingredients
- In a small bowl, mix the heavy cream and vanilla extract (if using).
- Gradually pour the cream into the flour mixture, stirring gently with a fork until just combined. Be careful not to overmix; the dough should be slightly shaggy and sticky.
5. Bring the Dough Together
- Turn the dough onto a lightly floured surface, and gently bring it together with your hands.
- Press it into a disc about 1 inch thick and 6–7 inches in diameter.
- Avoid overworking the dough, as this can make your scones tough.
6. Cut Out the Scones
- Use a sharp round cutter (about 2–3 inches in diameter) to cut out circles. Avoid twisting the cutter; press straight down to help the scones rise evenly.
- Gently press the scraps together and cut additional scones until all dough is used.
7. Egg Wash for a Golden Finish
- In a small bowl, beat the egg with a tablespoon of cream or milk.
- Brush the tops of each scone with this egg wash, giving them a glossy, golden brown finish.
8. Bake the Scones
- Place the scones on the prepared baking sheet, spacing them about 1 inch apart.
- Bake for 15–18 minutes until the tops are golden and the scones have risen.
- Remove from the oven and allow them to cool slightly before serving.
Serving Suggestions
Scones are best enjoyed fresh and warm from the oven. Here are a few serving ideas:
- Classic Topping: Serve with clotted cream and strawberry or raspberry jam for a traditional British tea-time treat.
- Butter and Honey: A simple spread of butter and a drizzle of honey complements the scones’ light sweetness.
- Whipped Cream and Berries: For a summery twist, top with whipped cream and fresh berries.
Storage and Reheating Tips
- Storage: Store leftover scones in an airtight container at room temperature for up to 2 days. They can be frozen for longer storage.
- Reheating: Reheat scones in a 300°F (150°C) oven for about 5 minutes to restore their texture.
Troubleshooting Tips
- Flat Scones: If your scones didn’t rise, check that your baking powder is fresh, and avoid over-kneading the dough.
- Dry Scones: This can happen if you overwork the dough or bake them too long. Be careful not to handle the dough too much and keep an eye on the baking time.
- Spread-Out Scones: This can result from butter that’s too warm. Keep your butter and dough as cold as possible before baking.
Why This Recipe Stands Out
These scones are buttery, slightly sweet, and irresistibly soft. They’re simple enough for beginner bakers, but delicious enough to impress. With just a few key techniques, you’ll have fresh scones that rival those from a bakery, perfect for any occasion. Enjoy every bite of these flaky, golden delights!
